Before you begin, you'll need to gather a few supplies.
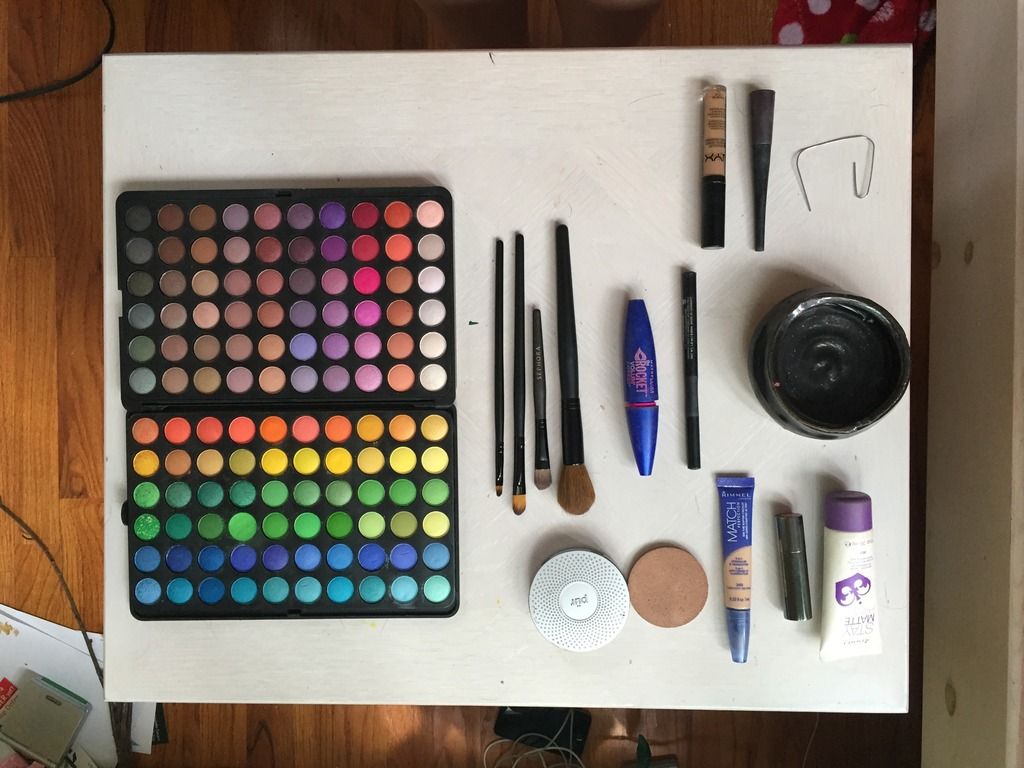
Here's a list of what I use:
Face Primer: Rimmel London Stay Matte Primer
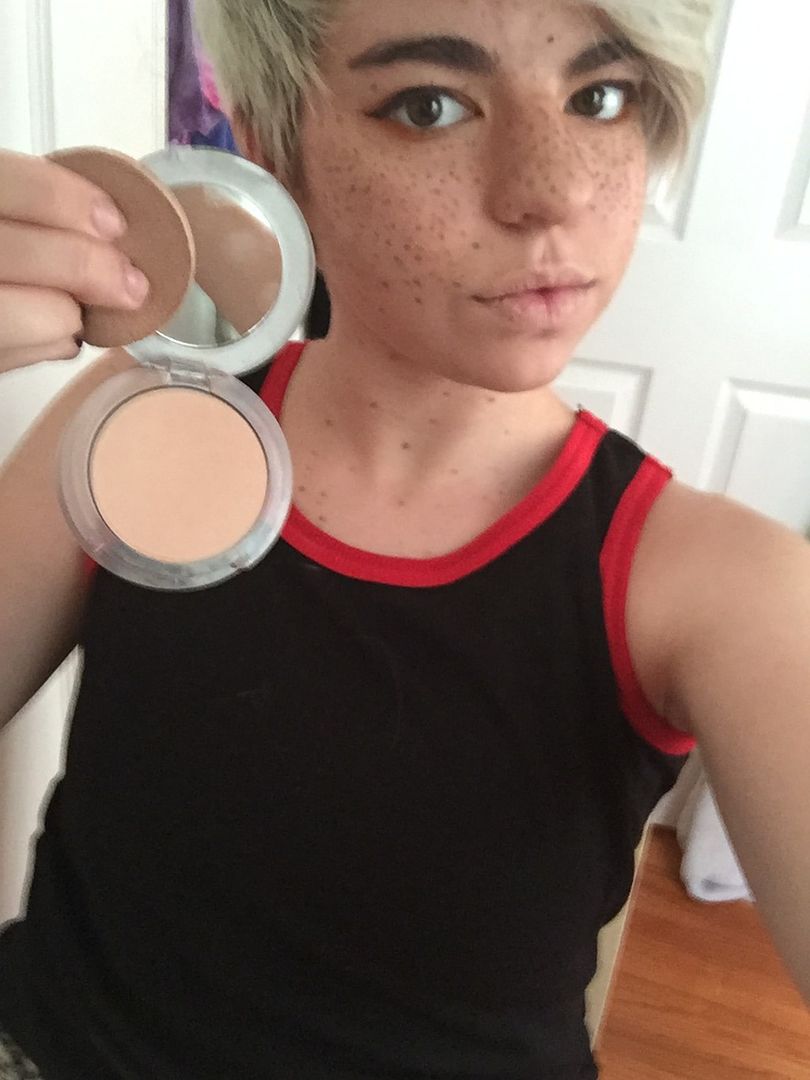
Foundation Powder: Pur Minerals 4-in-1 Pressed Mineral Makeup, in Light
To apply this, I use a round flat makeup sponge, but you can also use a foundation brush
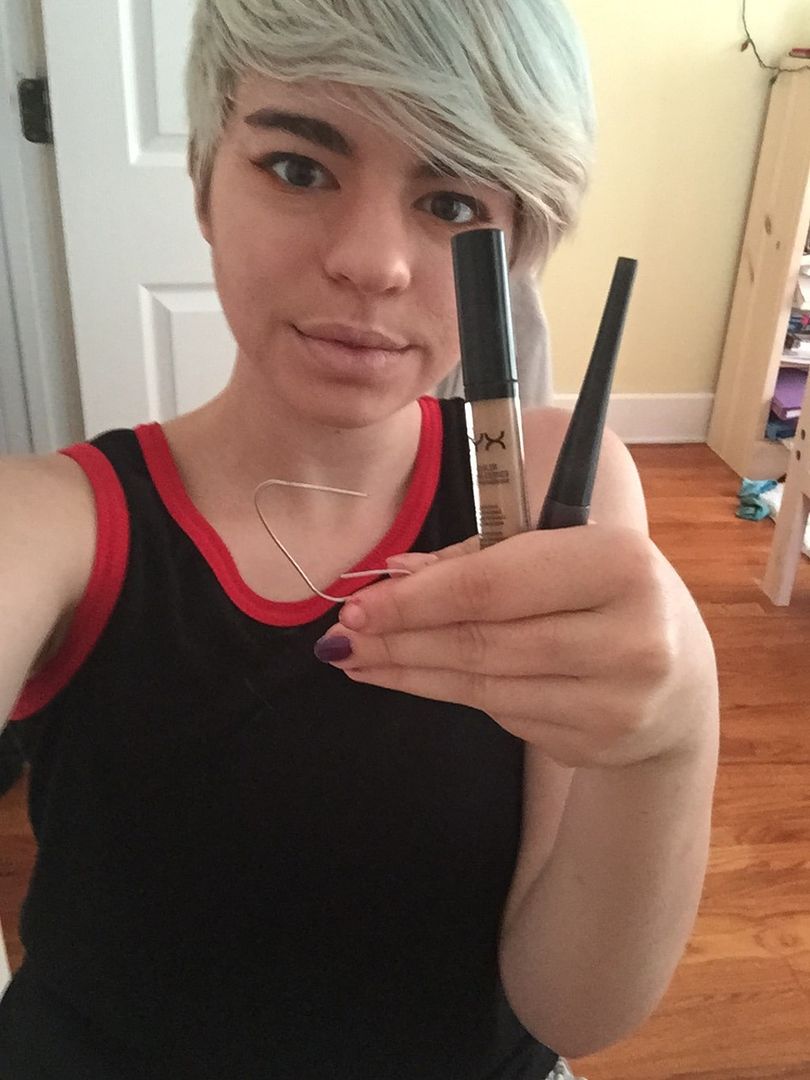
Concealer: Rimmel London Match Perfection Skin Tone Adapting Concealear in Fair
Eyeshadow: BH Cosmetics 120 Eyeshadow Color Palette, 1st and 5th edition
Mascara: Maybelline New York Rockket Volume Express
Eyeliner: Prestige Line and Style Ink Pen
Freckles: I use a dark concealer, NYX HD Concealer, in Tan as well as a liquid eyeliner. I'm pretty sure the one I'm using is the brand Elf, in Plum.
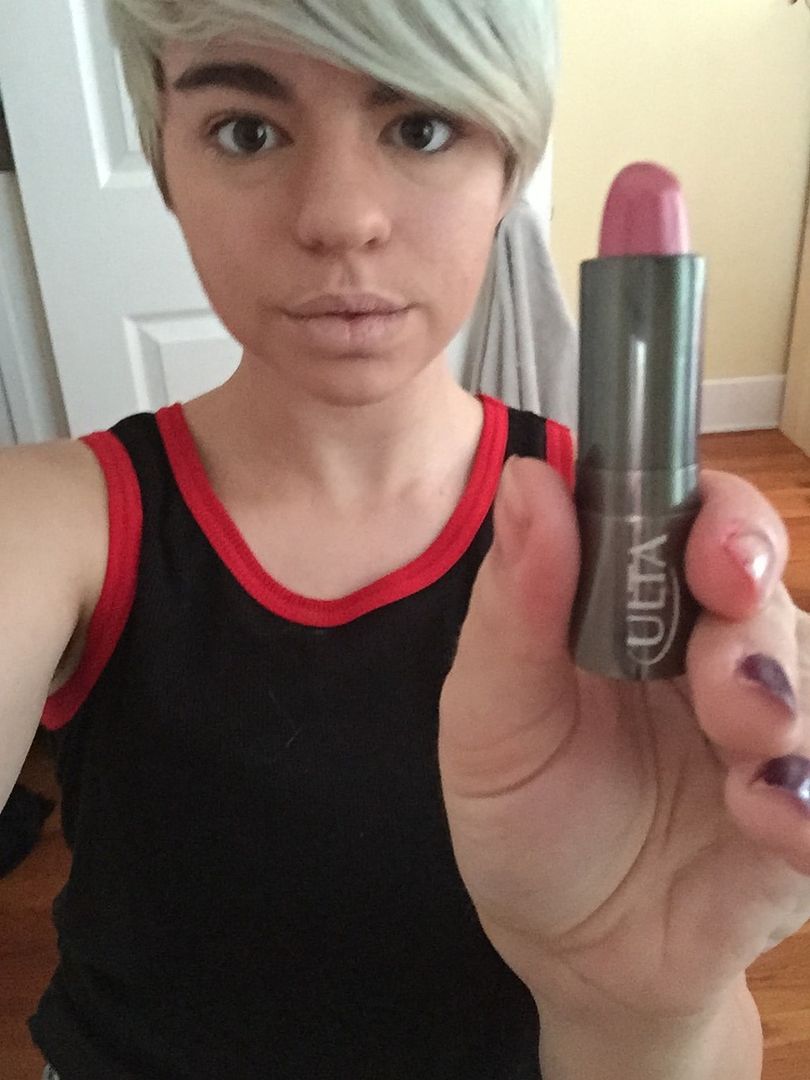
Lipstick: Ulta Lipstick, color #223
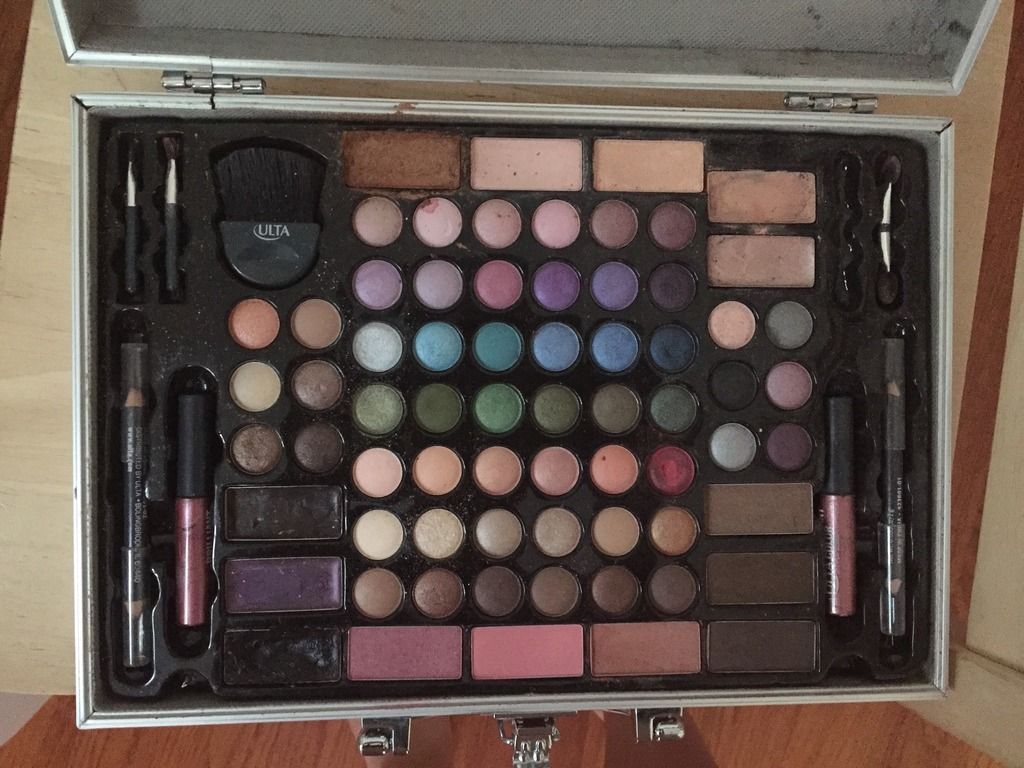
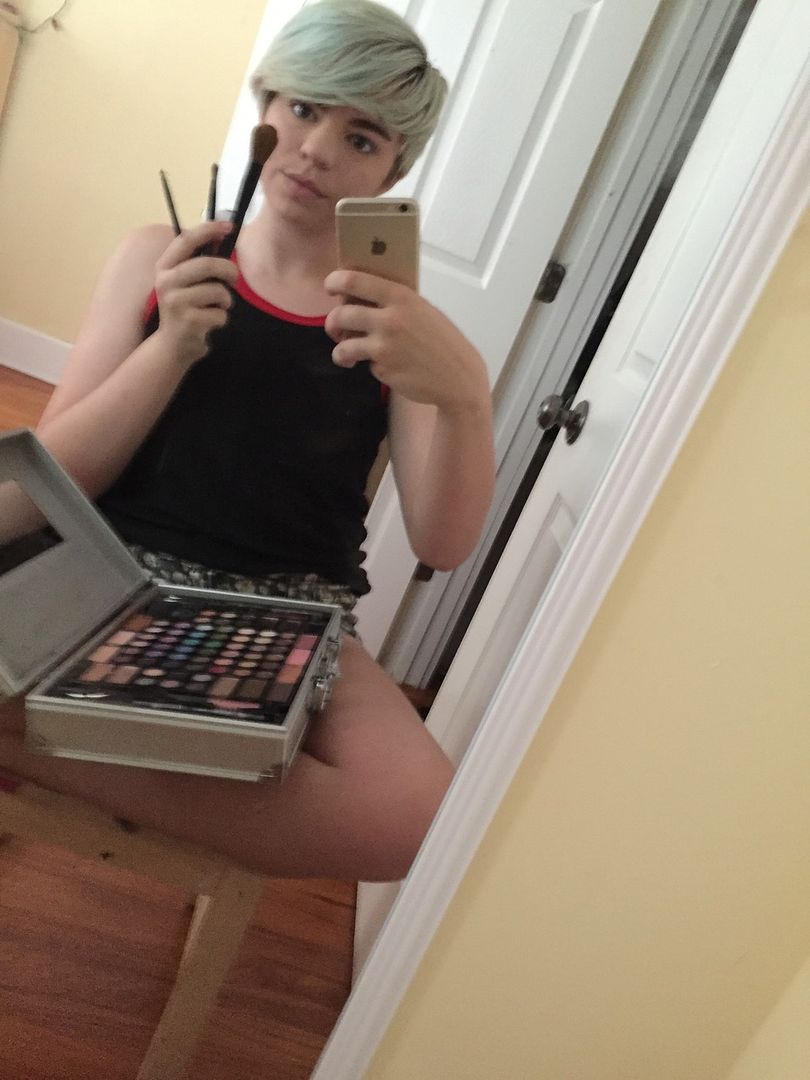
For contouring, you’ll need a bronzer or some darker face powder. I use the ones in a palette that I bought in Ulta, shown below
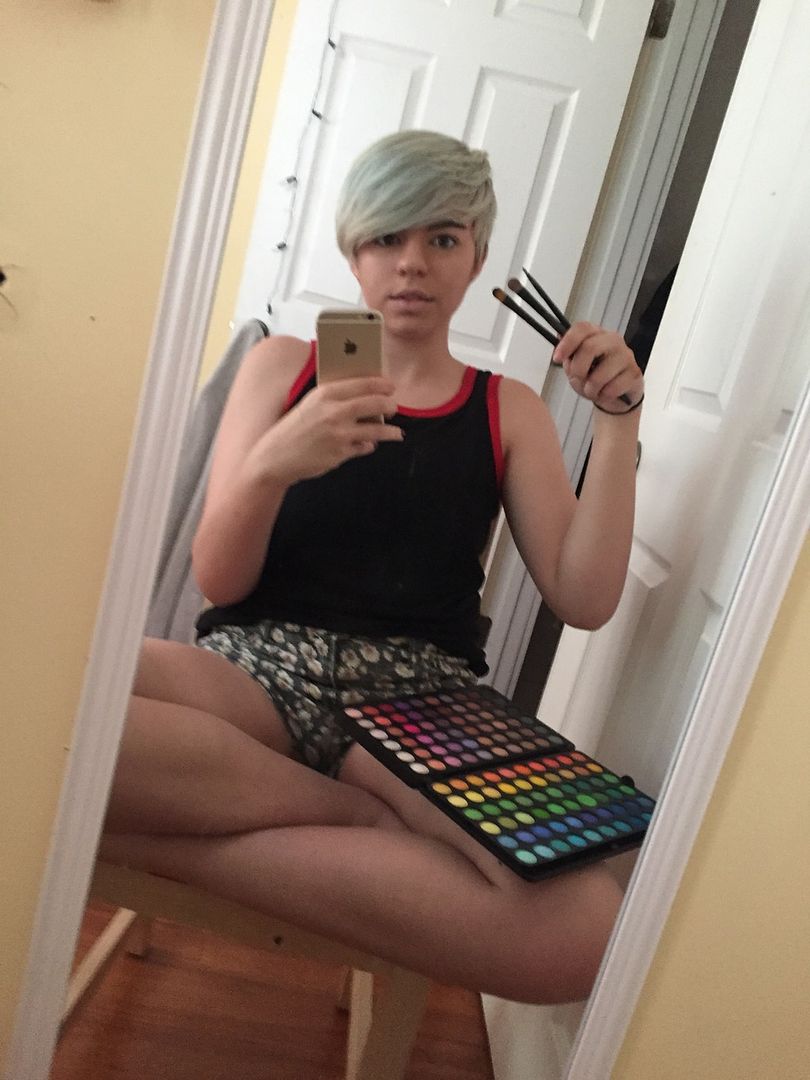
You'll also need a few brushes. I use the ones pictured above. A fluffy large round brush, two rounded flat eyeshadow brushes, and a small rounded flat brush. You can get a full brush set for relatively cheap on Amazon.
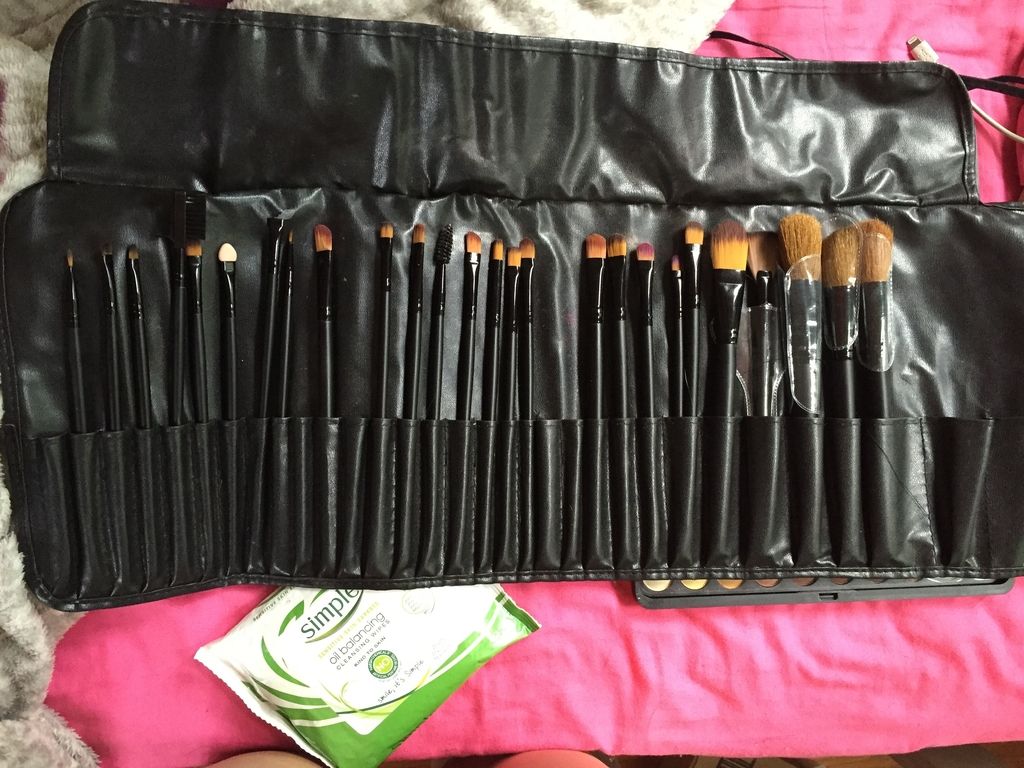
This is the set that I use. I don't remember which seller I got it from, sorry.
You will also need a paper clip, a small bowl of water, makeup removing wipes, and some AWESOME BACKGROUND MUSIC!
So, let’s begin!
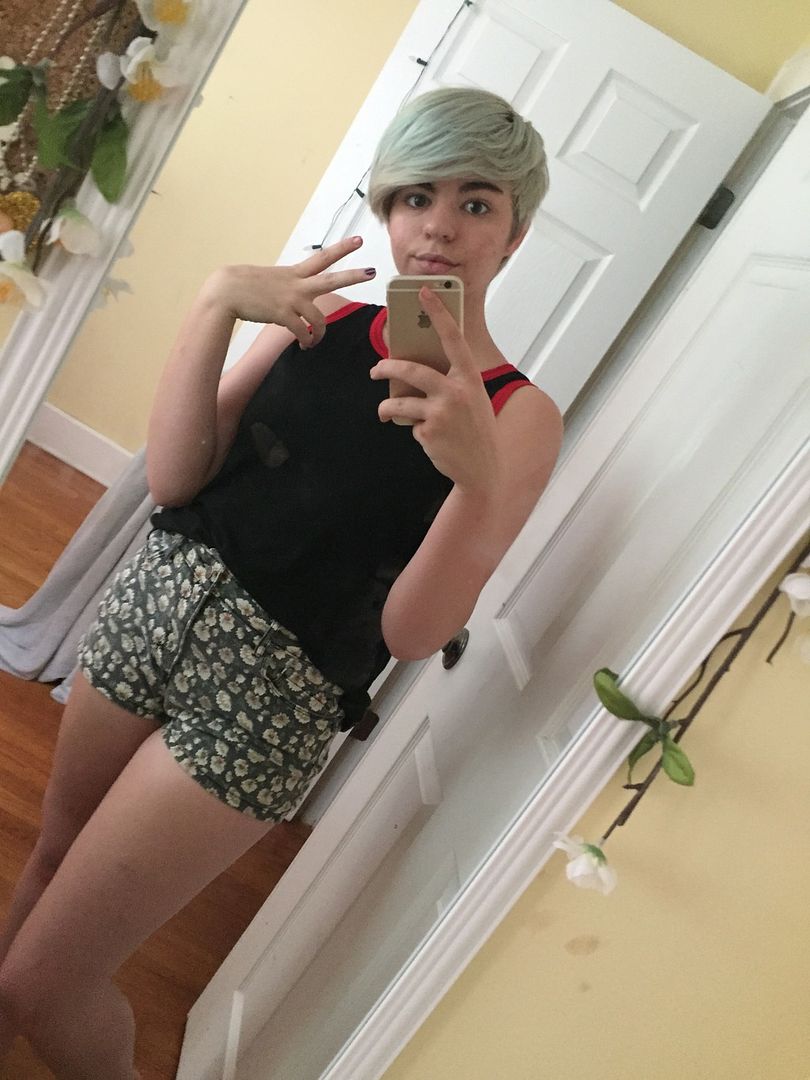
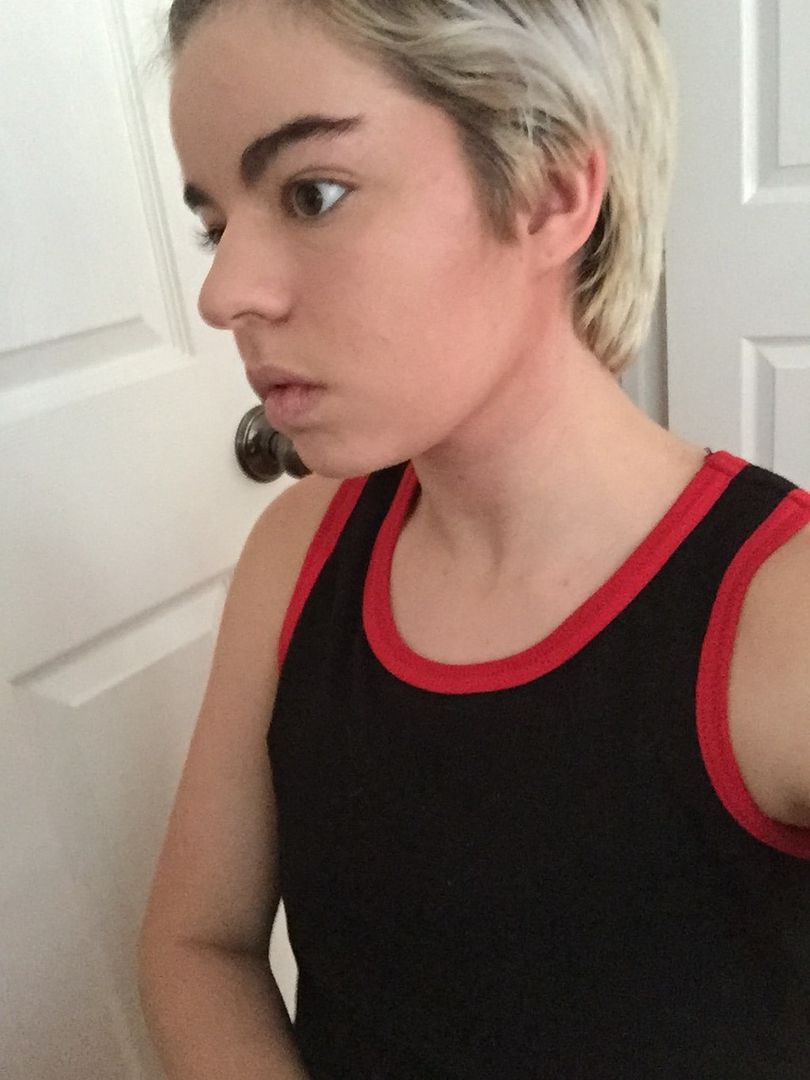
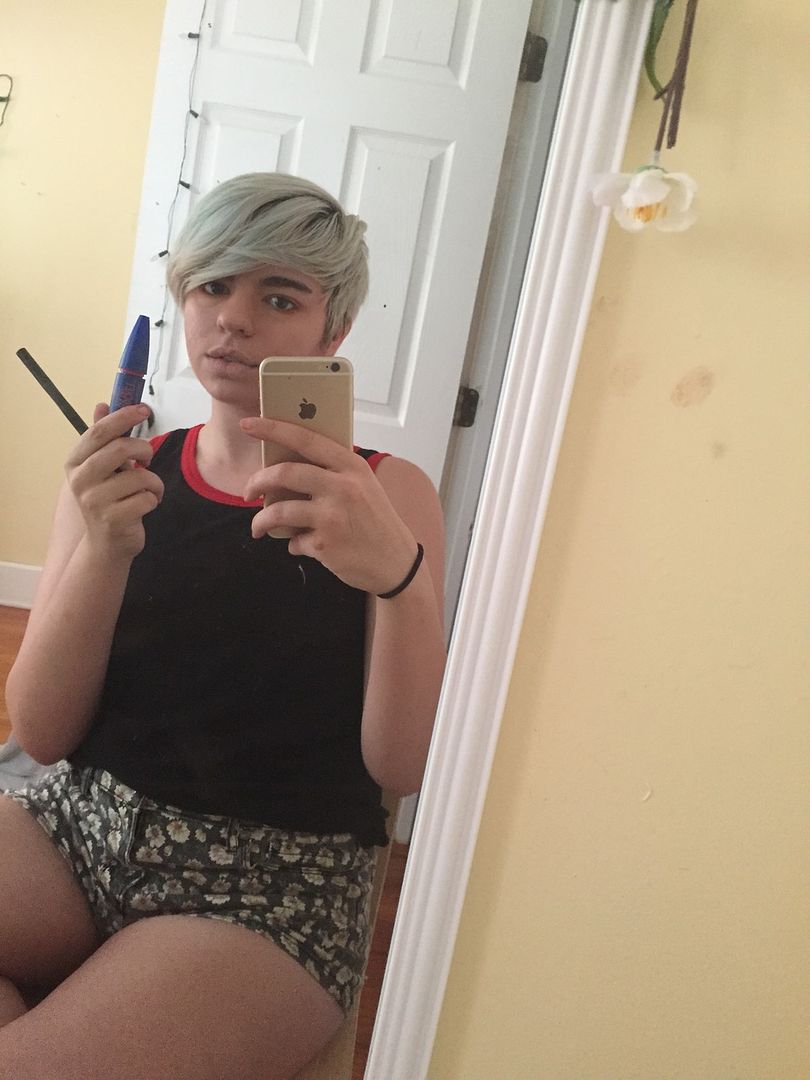
Put on whatever clothes that you’ll be wearing (for me today, that’s my binder and these cute shorts) and find a room with good lighting and a mirror.
If you’re wearing a wig, also put on your wig cap before you start your makeup! You don’t want to mess up your hard work trying to put it on after you have finished.
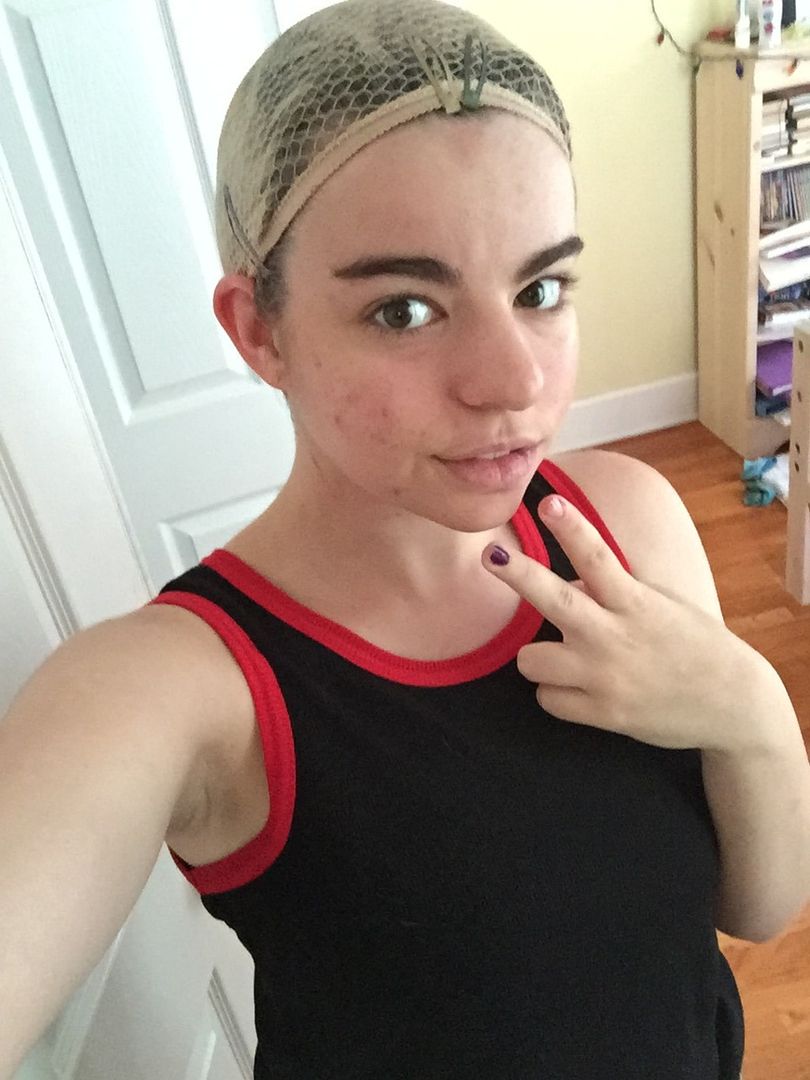
For this tutorial, I won’t be wearing it in the photos because I look super ugly in it! But seriously, it’s really important to put it on before you do your makeup.
Before anything else, start off by putting on your face primer. This will make sure that your makeup stays put a lot longer. This isn’t really necessary if you are only going to be wearing the makeup for a short amount of time, but if you’re going to be in cosplay for a while, it’s pretty important!
Okie dokie, you’re going to start with your basic face routine. In this step, I am using my concealer and my foundation powder.
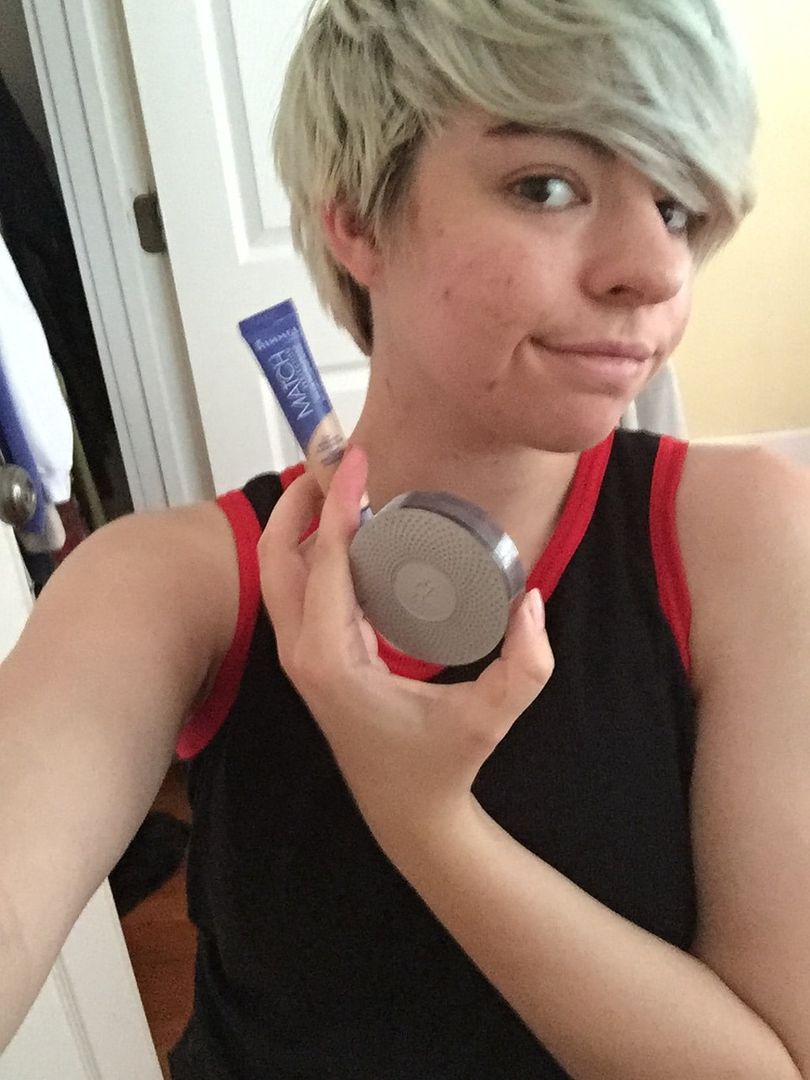
Start off by dabbing your concealer over any visible blemishes. You won’t need a lot of it, just enough to cover in discoloration. Make sure to dab, don’t rub. It will look much more natural.
Next, apply your foundation powder over your whole face. I use a makeup sponge, but you can also use a foundation brush. Just try to apply in circular motions.
If you have dark undereye circles like I do, you’ll want to conceal those as well. Make sure to apply your concealer in a triangle!

It's a little hard to see in this photo, but applying it like this will hide the darkness almost entirely. Then just blend it in like the rest of your concealer.
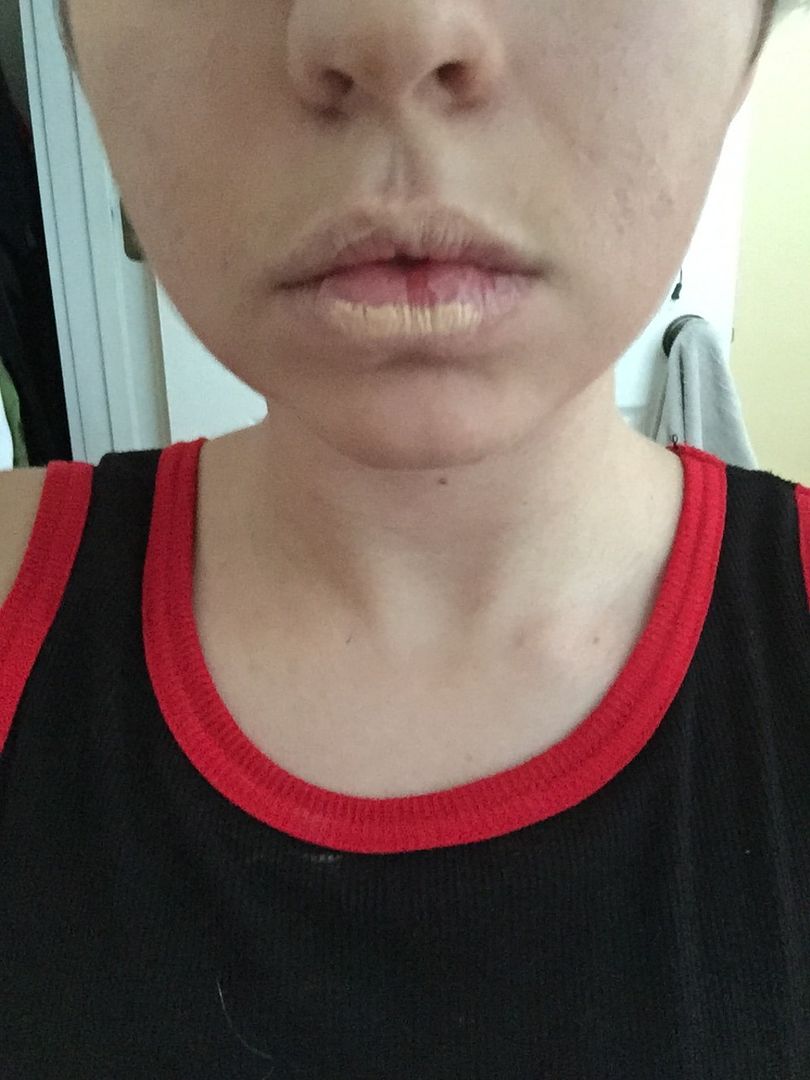
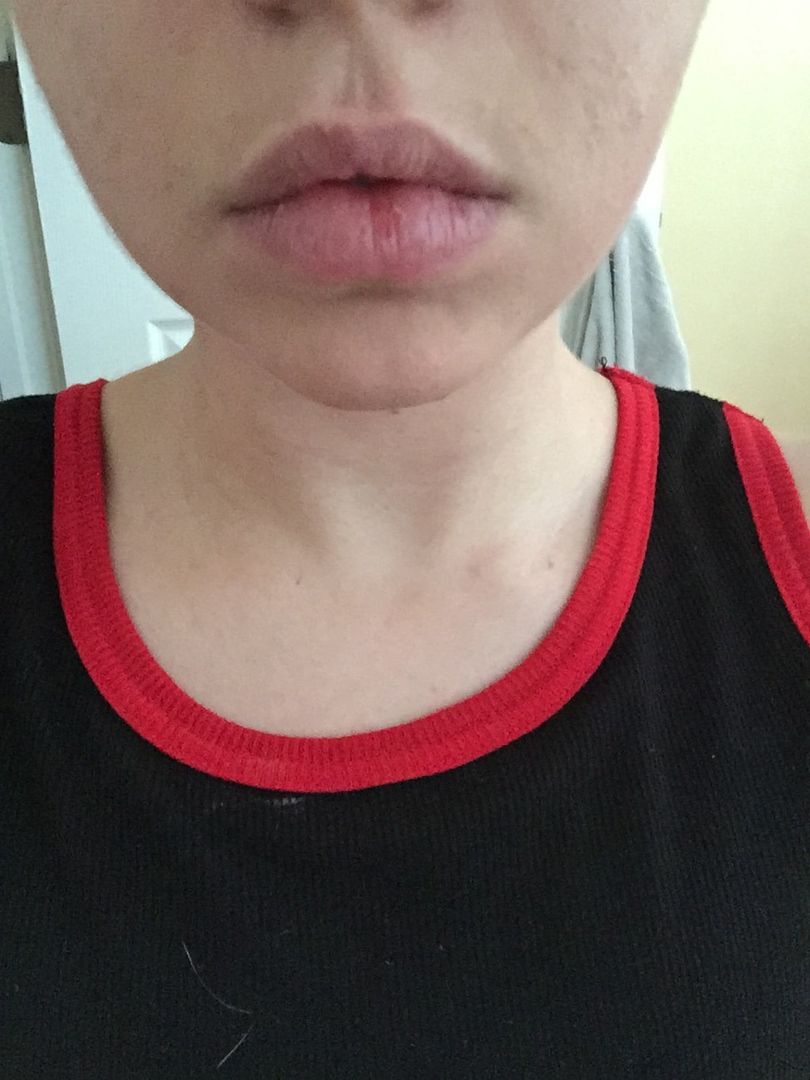
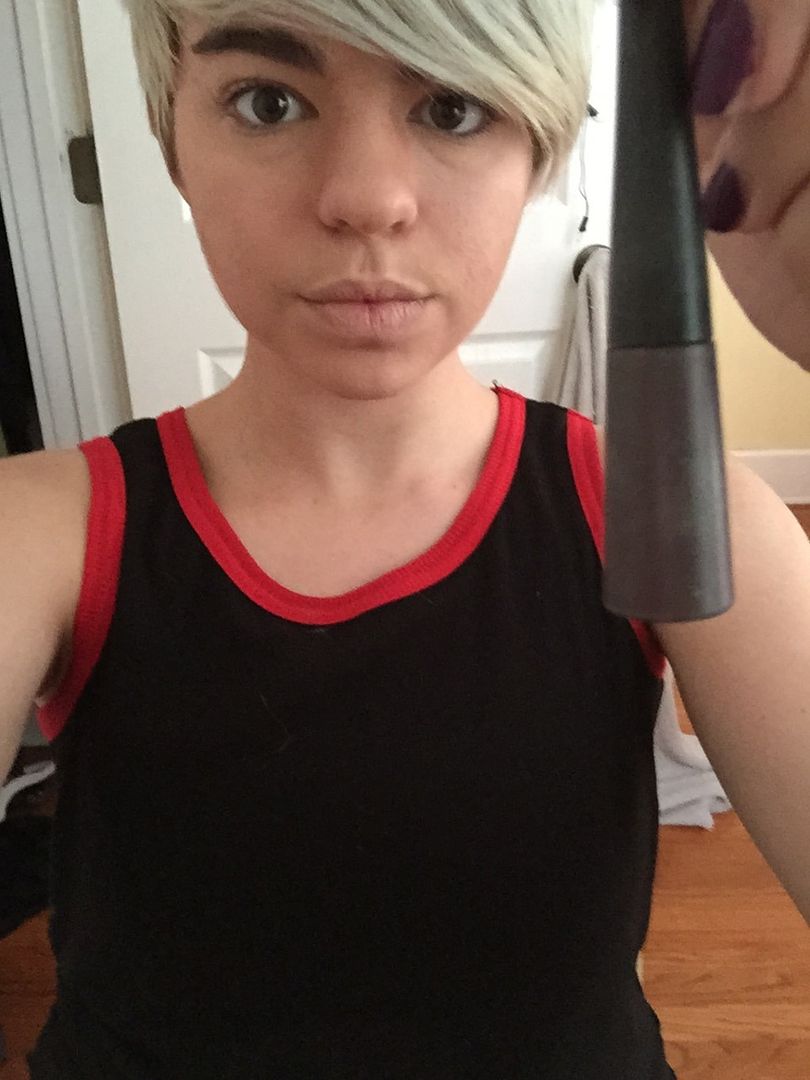
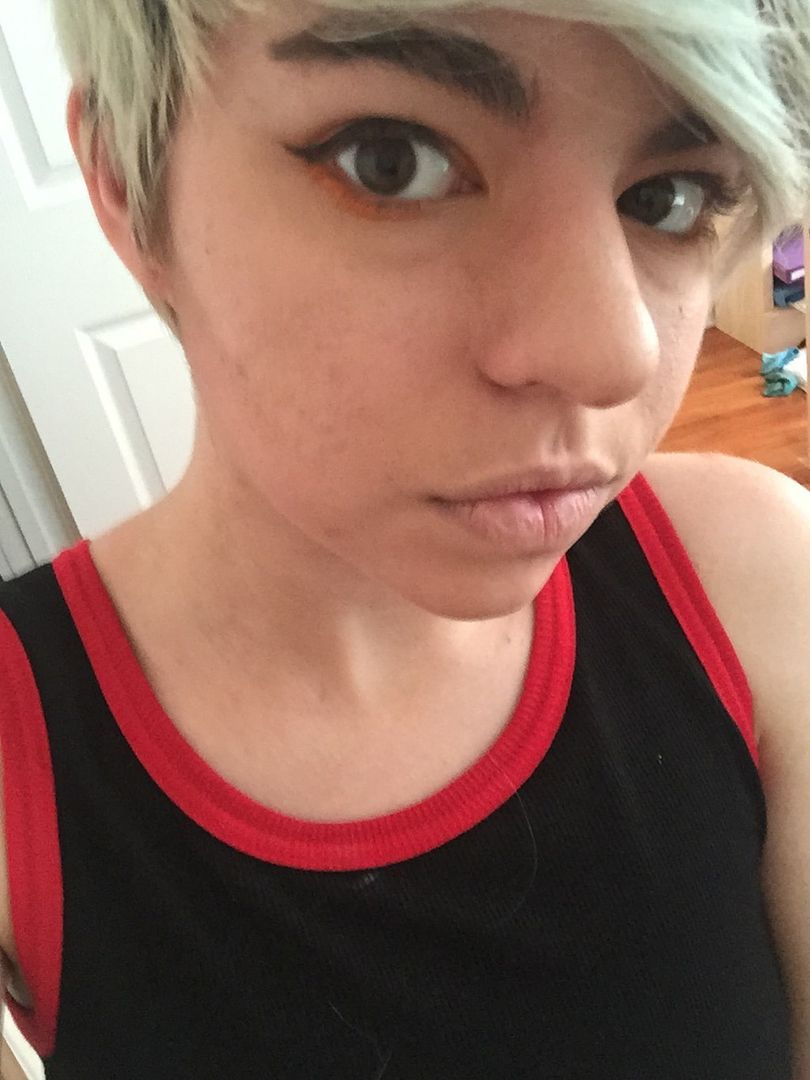
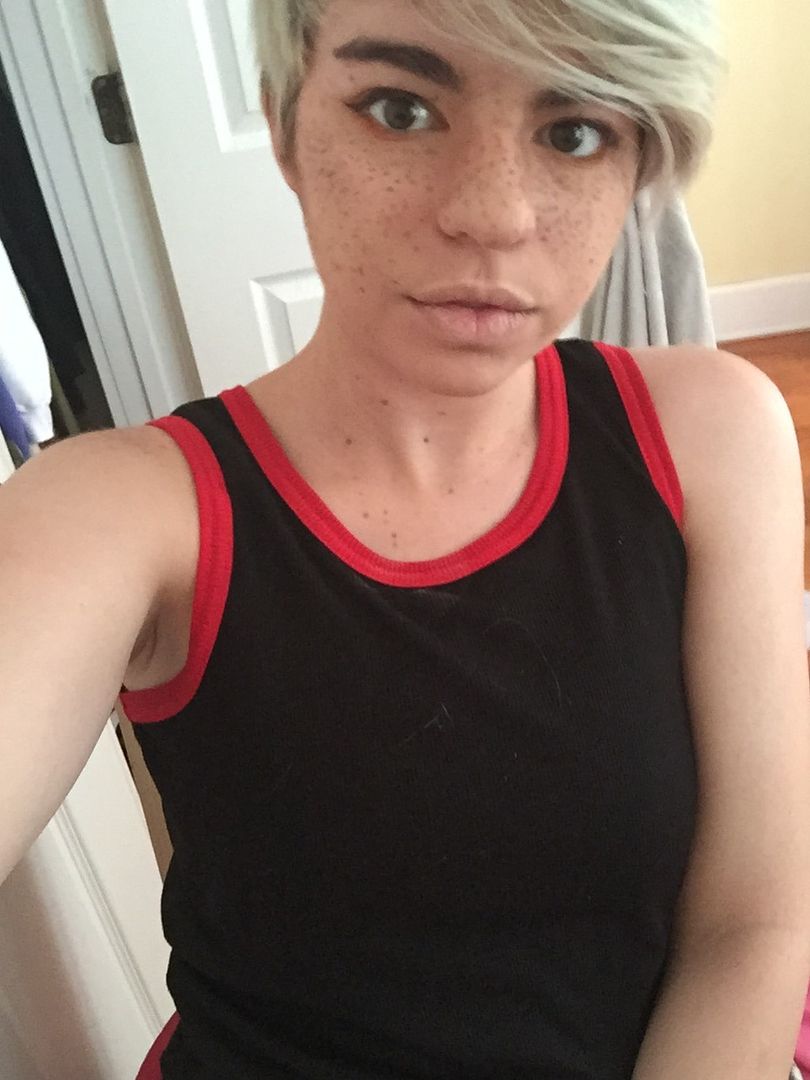
So, once you’re done with all of this, your face should look quite a bit more even and smooth. Before and after:
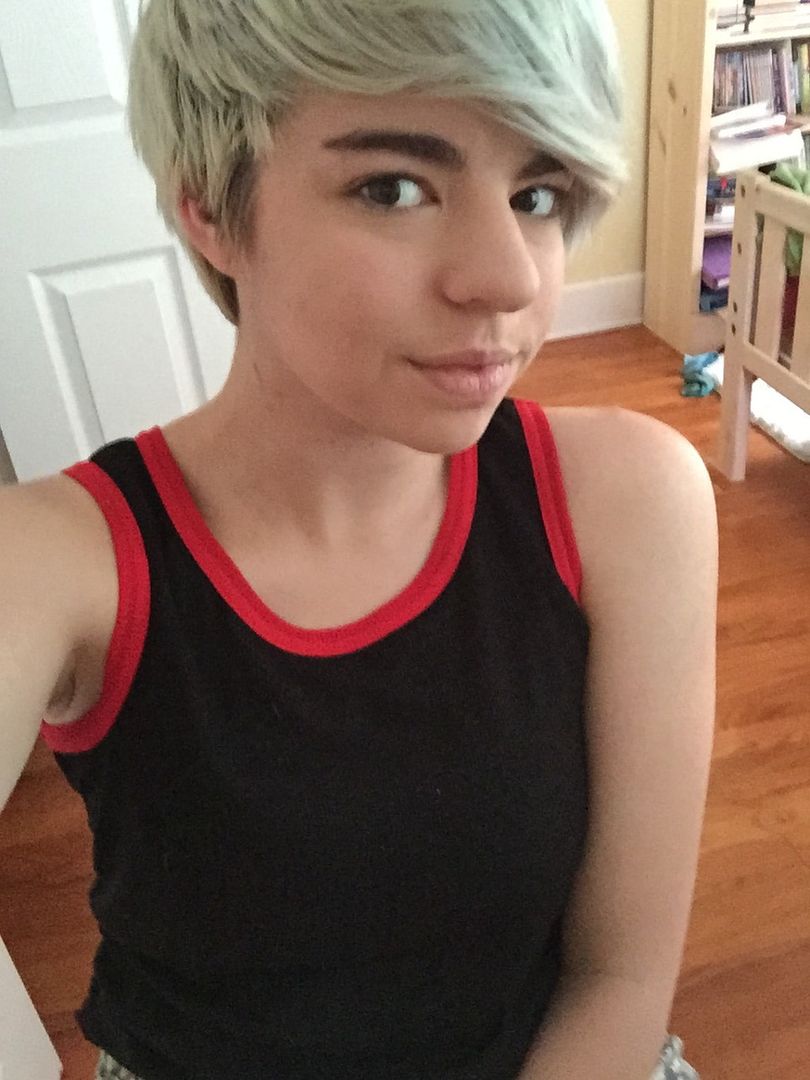
I should have tried to make the same face in each, but you get the idea lmao.
So the next step is contouring! The is where you're going to be using your darker face powder and the pictured brushes
The point of contouring is to change the shape of your face, so if you already have a face that’s pretty similar to his, you can skip this step! If you don’t then keep reading.
With a quick google search you can find tons of contouring references online. The basic idea is that you want to make a 3 shape with the first point at your temples, the second under your cheekbones, and the third lining the bottom of your face.
When you are contouring, it’s important to remember that it should still look natural. If you go too dark it’ll just look like you have dirt on your face.
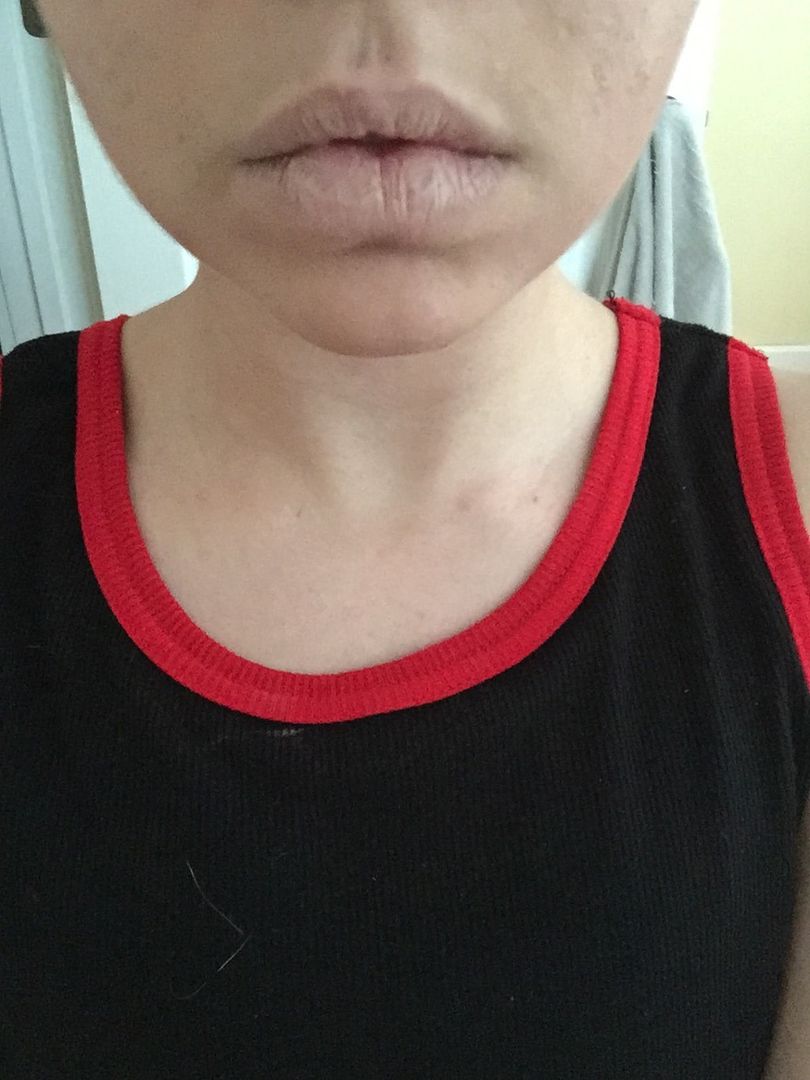
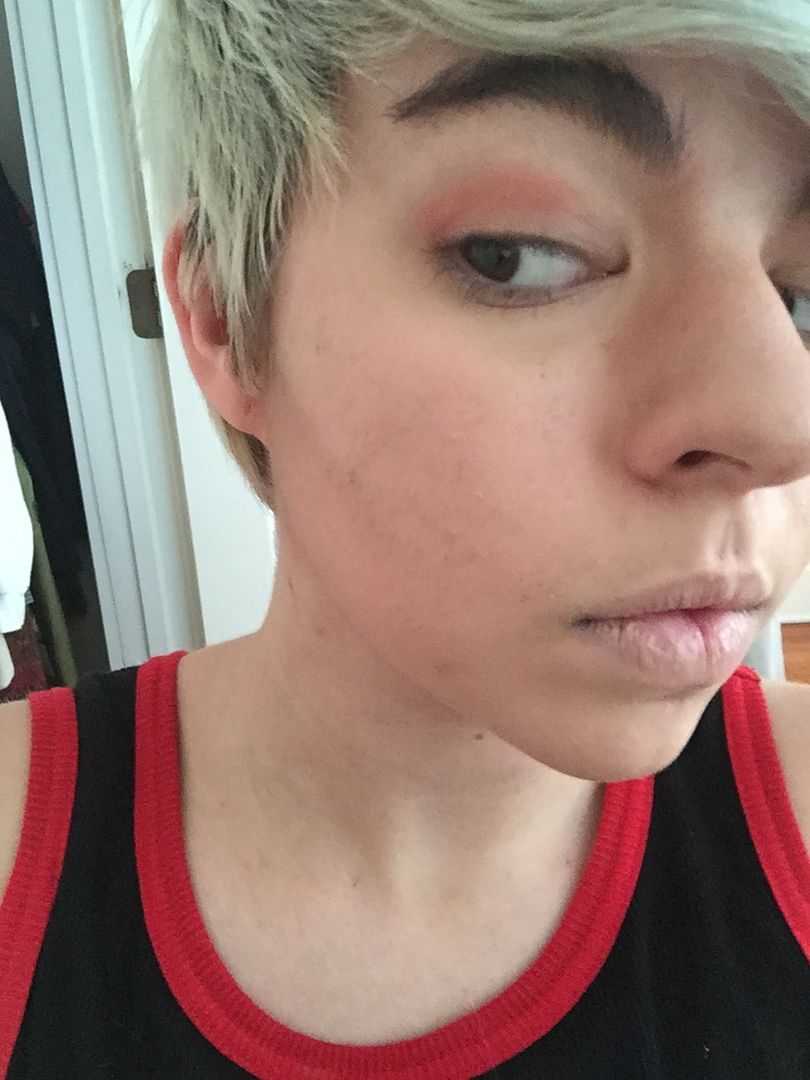
This is what my contouring basically looks like. I need to blend a bit more around my neck, but other than that, it’s acceptable.
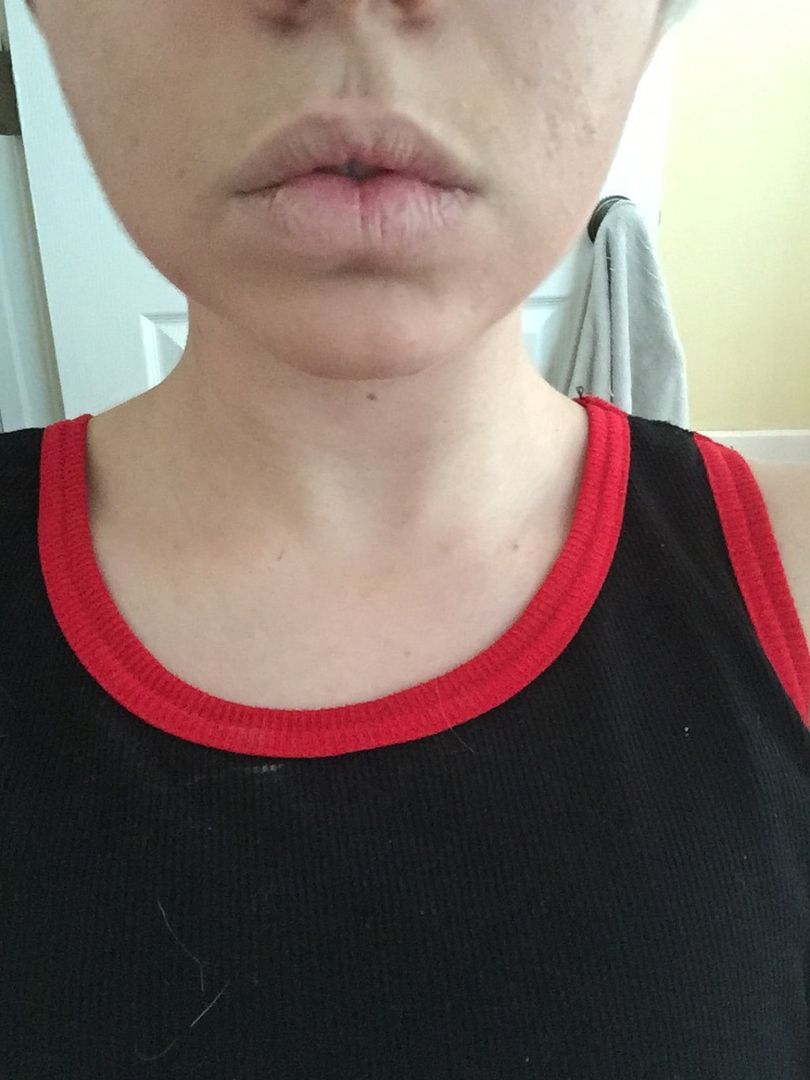
Next, you’ll want to conceal your lips! Just dab the concealer around the edges of your lips like this
It’s a little hard to see the top, but you want a fair amount on both the top and bottom. Next, just blend it in like you normally blend concealer. Here’s a before and after:
You can stop here, but I think that leaving it like this actually flattens your face, so I do like to add a bit of color! This is where you'll be using your lipstick. Make sure that it's a light, natural pink color. You still want your lips to be paler.
Very lightly apply this to the center of your lips close to the inside. It should look like this:
Next, you are going to elongate your mouth. For this, I use my Plum colored liquid eyeliner, but if you have some brown lipstick you want to use, that would work as well.
Use this and put small dots on either corner of your mouth, then blend them in just a bit.
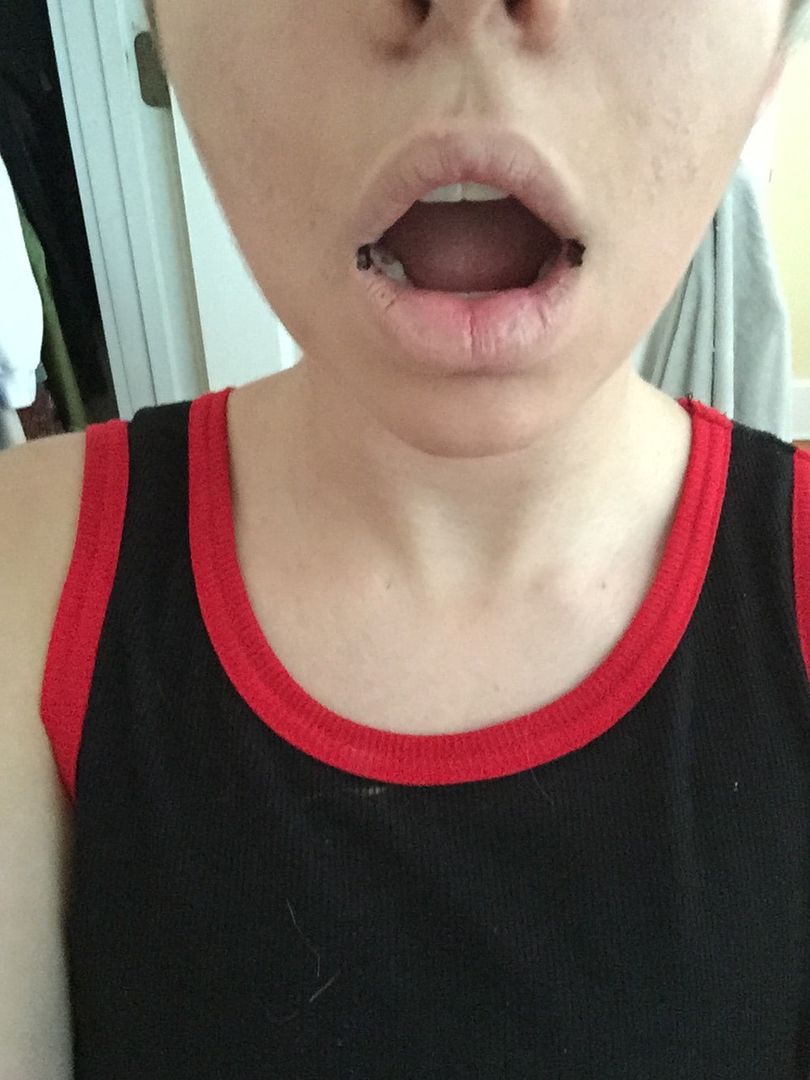
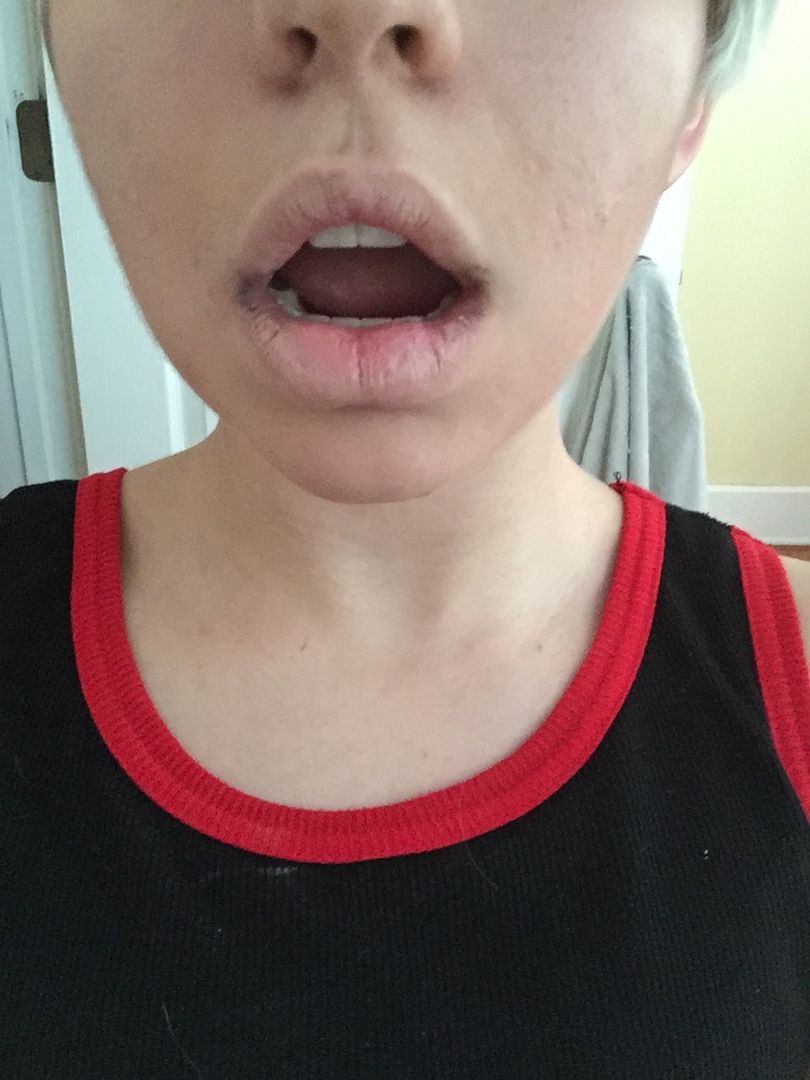
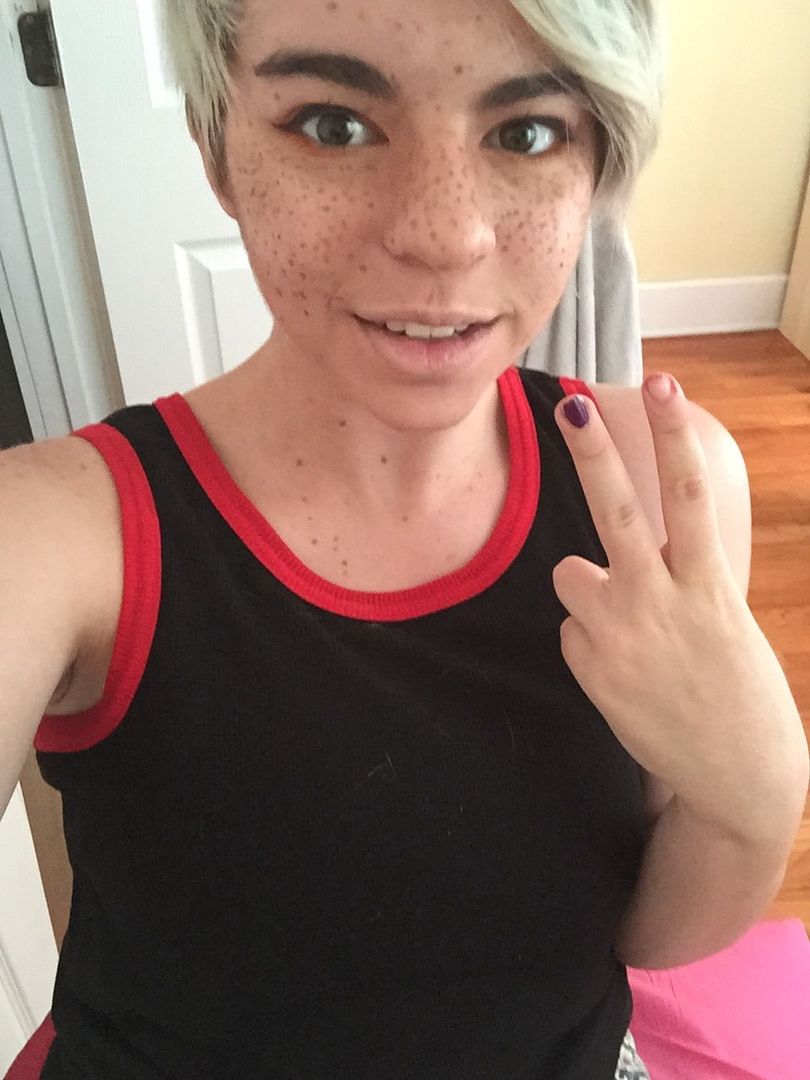
Wait for this to dry, then when you close your mouth, it should look like this!
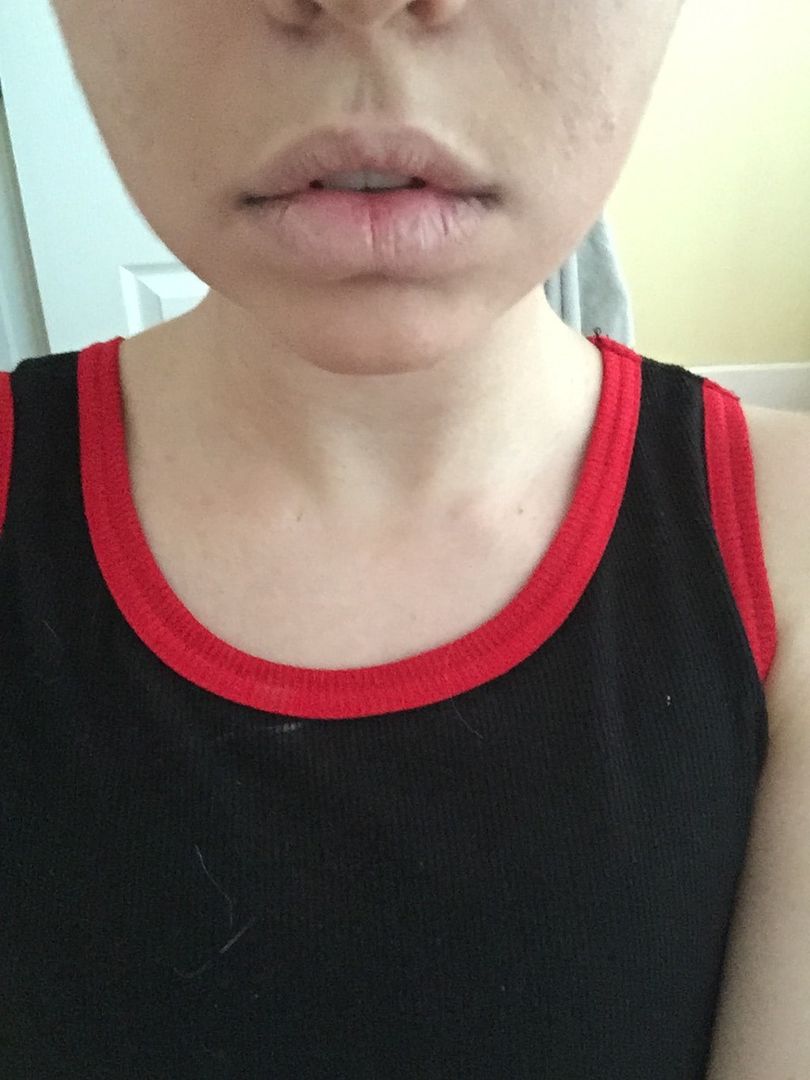
You are now finished with your base makeup (and lips)!
The next step is your eyes! You can really do almost anything here. Just remember that eyeshadow and eyeliner look amazing on everyone and will seriously complete your cosplay. Even if you never wear it, if you’re in cosplay, eye makeup is your best friend.
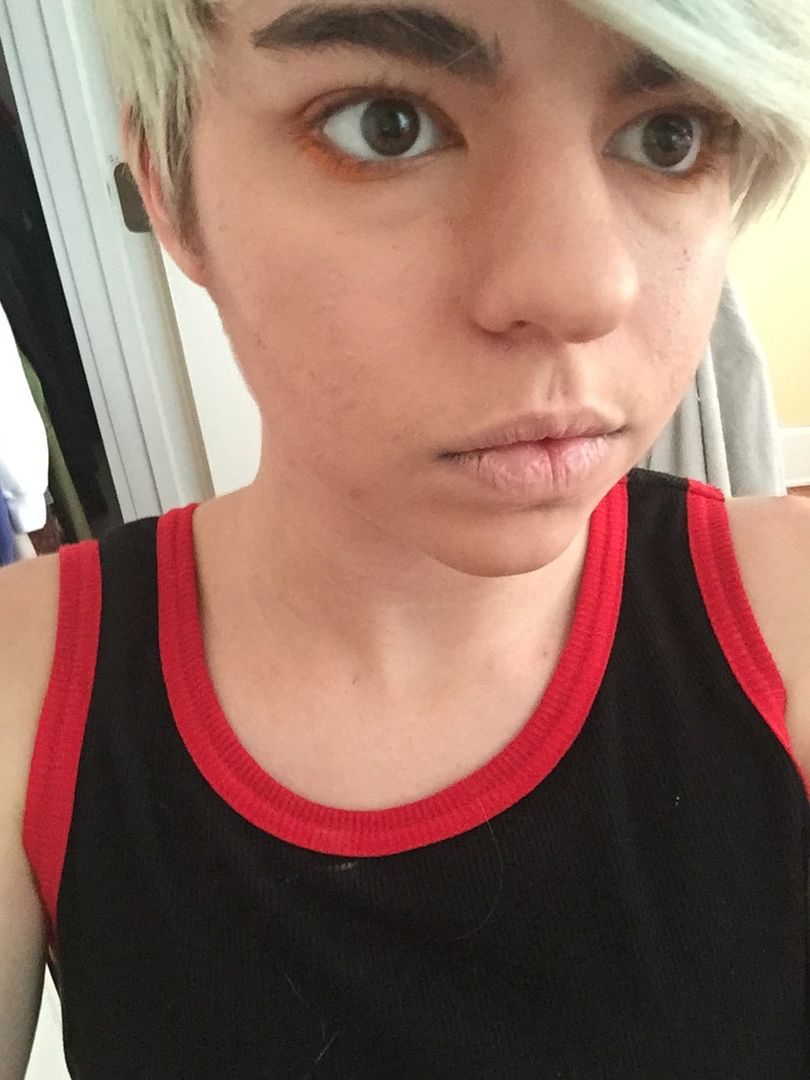
Like I said earlier, you can do almost anything here. Since Reynir doesn’t wear makeup in canon, I prefer to do mostly natural with a pop of color on the bottom
Here’s what I use:
When you are doing eye makeup, it’s always a good idea to start with a base that’s a very neutral color. It should blend with your skin tone. The point of this is so dry any natural oils that are on your eyelid.
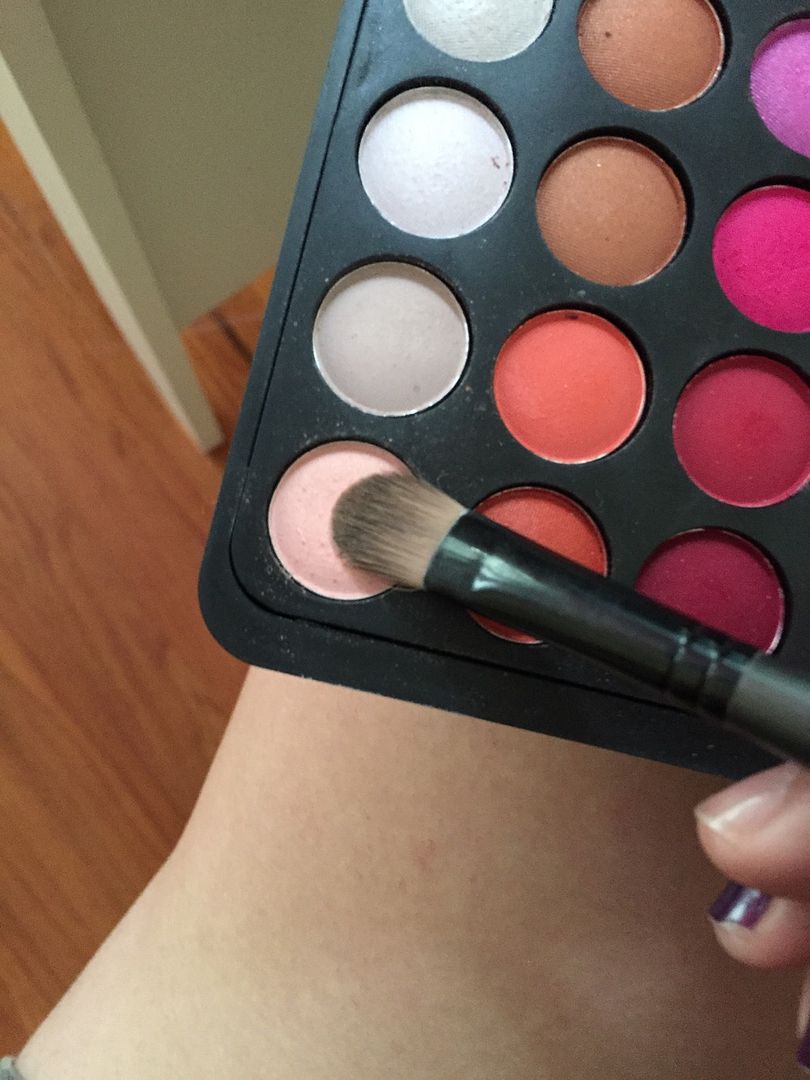
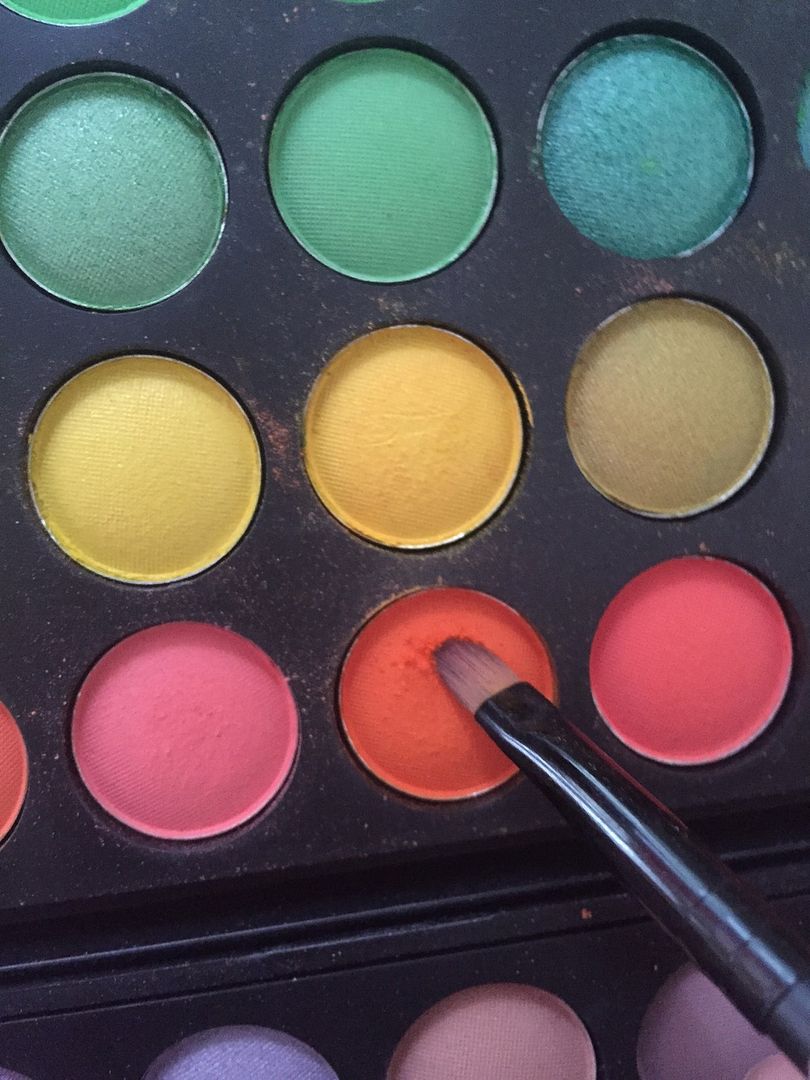
Next, you’ll start adding color. I usually go with oranges because my wig is very orange and I feel like that gives me a bit of unity.
I start off with a light ornage over my whole lid, then add a darker orange extending up and out past the edge of my eye. You’ll be using your wide, flat eyeshadow brushes for this.
Then, I use I light brown to darken the crease in my eyelid, using the smallest brush.
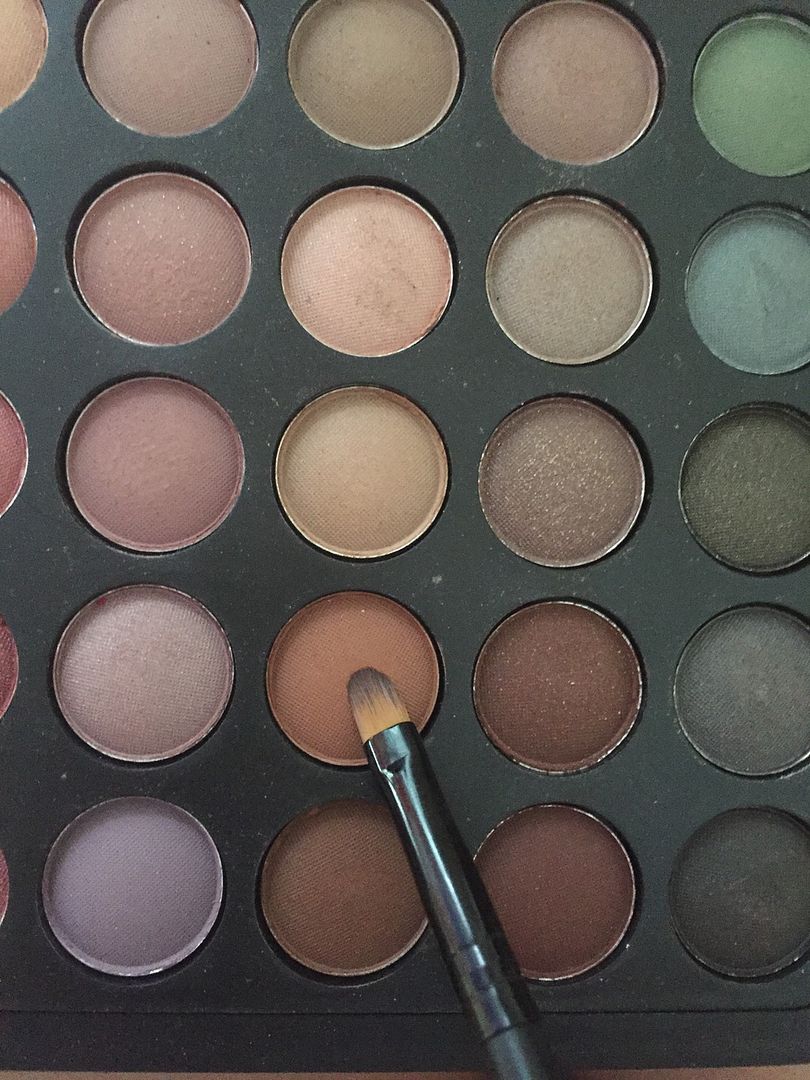
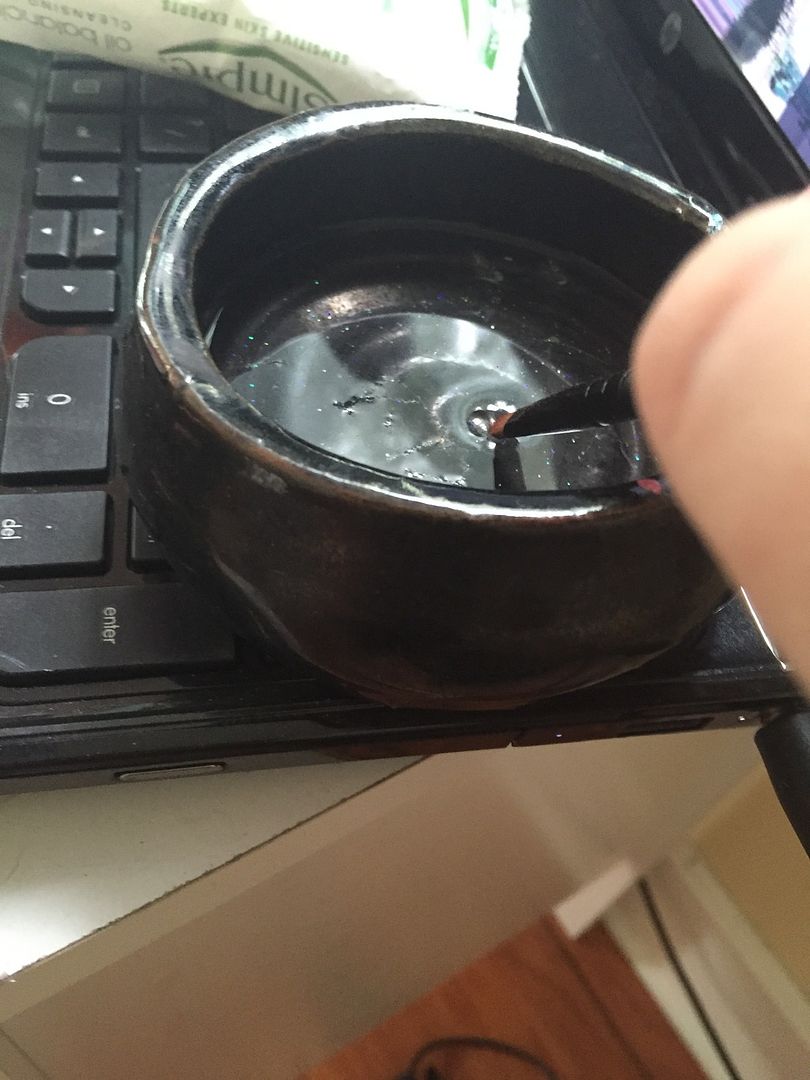
Finally, I add a bright pop of color on my bottom lid to add some visual interest to my face. Clean your small brush to get rid of any shadows that might be left in it. Then dip it in your bowl of water. You want it to be damp, but not dripping wet, so remove any excess water if necessary. Now that it’s damp, you’ll be able to apply your eyeshadow very precisely. It will also be more vibrant.
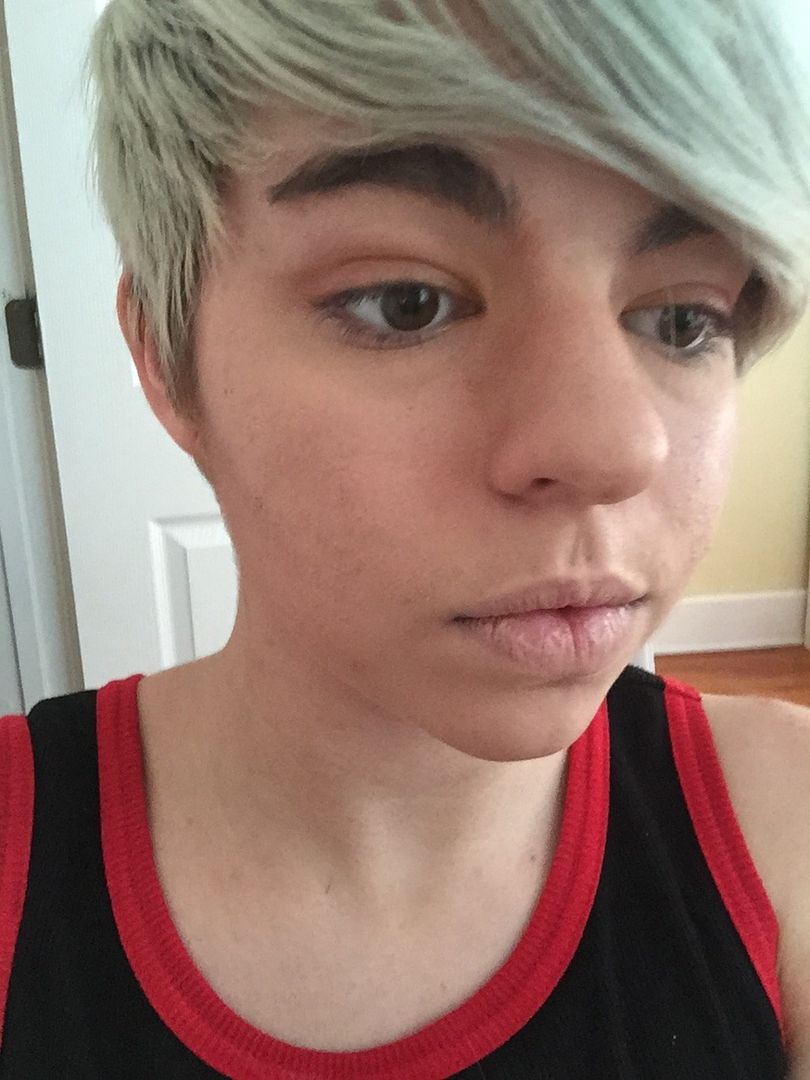
Next, we’ll be applying eyeliner and mascara.
Mascara isn’t super necessary, but I feel like long thick lashes are really nice looking. As for the eyeliner, you can really wear it however you want. I prefer winged eyeliner myself, but you may want to go with a line that’s thinner and ends at the end of your lid for a more natural look.
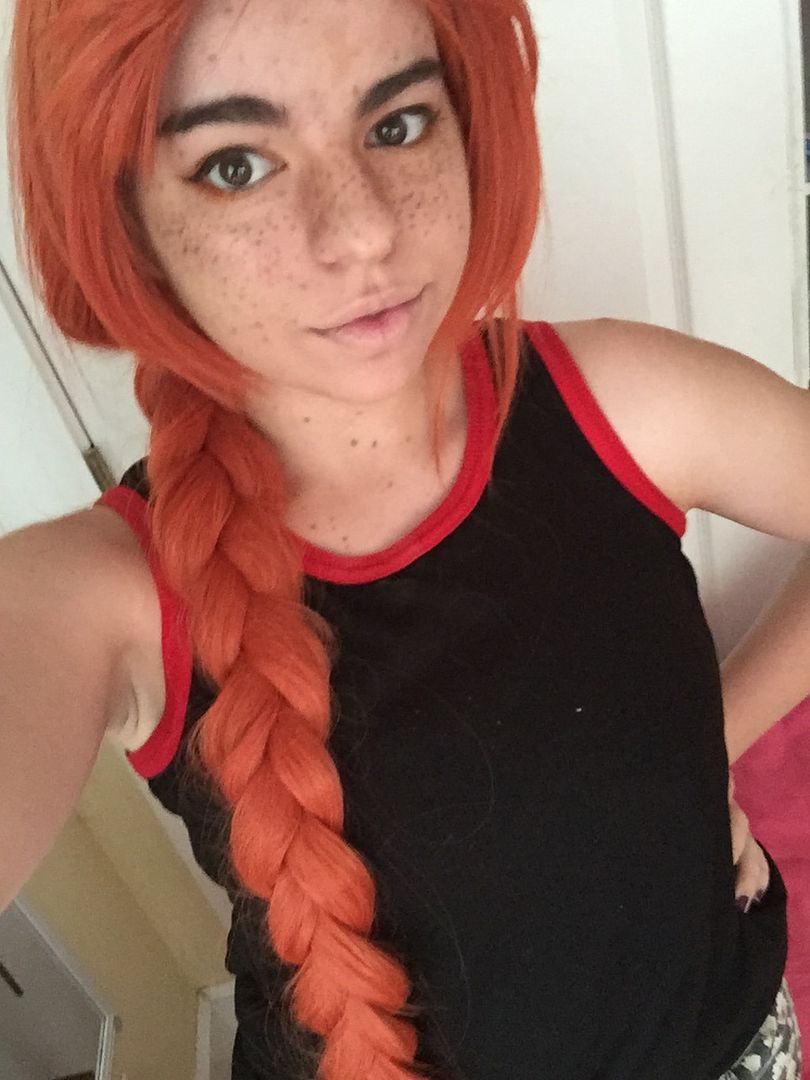
Next is arguably the most important part of this makeup! The freckles!!!! If have you enough natural freckles that you already look like Reynir, you can skip this step! If you don’t keep reading!
So in this step, you’ll be using your darker concealer, and the paper clip. I also use my brown liquid eyeliner at the very end to make a few smaller darker freckles, but that is optional. It’s very tempting to use just liquid eyeliner to do your freckles, especially if you don’t have darker concealer. However, I don’t recommend this at all. It looks super unnatural! That’s how I used to do my freckles, so here you can compare how it looks:
Here's what you'll be using:
I thought this would be a bit easier to understand in video form, so just click this link:
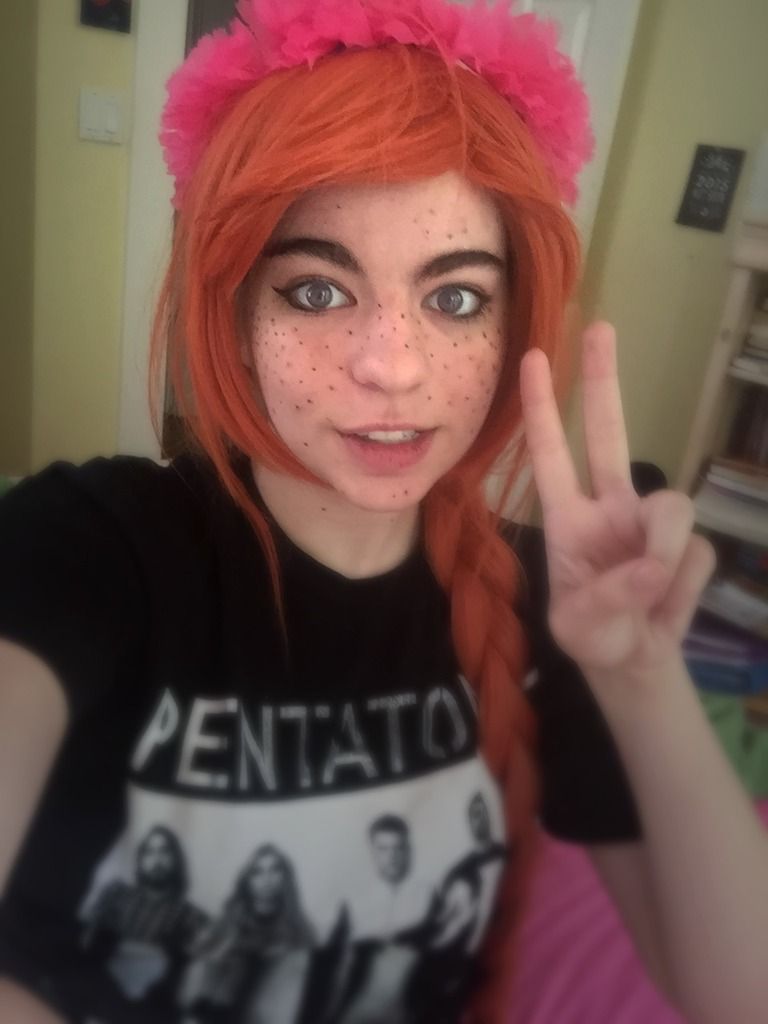
https://www.youtube.com/watch?v=ClTFs9eXzv0Sorry it’s so sketchy!! I actually had to tape my phone to the wall to get this?? Anyway. Here is my whole face done:
There were a few that I thought were too big, which I removed later. Since it is liquid makeup, it’s pretty quick and easy to remove, even after it has dried. After this you’ll want to use you foundation powder and lightly dust around the edges of your face because that’s generally where freckles are a bit lighter.
And that’s about it!! After this, you’ll want to make sure that all your makeup is dry, do any touch ups that are necessary, and then put on your wig!!